How to Claim Your Website on Pinterest (Step-by-Step Guide)
If you want to drive consistent traffic from Pinterest, claiming your website is a must-do step. By claiming your website, you gain access to Pinterest Analytics, attribution, and enhanced visibility, ensuring that your content is credited to you when users pin it.
Follow this step-by-step guide to claim your website and start leveraging Pinterest for more traffic.
📌 Why You Should Claim Your Website on Pinterest
✔️ Get Access to Pinterest Analytics – See which pins drive the most traffic to your website.
✔️ Improve Visibility & Credibility – Your website URL appears on your profile, increasing trust.
✔️ Ensure Proper Attribution – If people pin from your website, Pinterest will credit your content to you.
✔️ Unlock Rich Pins – Gain additional features like product pricing, blog post titles, and descriptions.
🚀 Before You Start:
🔹 Switch your Pinterest account to a Business Account (Settings → “Account Settings” → “Convert to Business”).
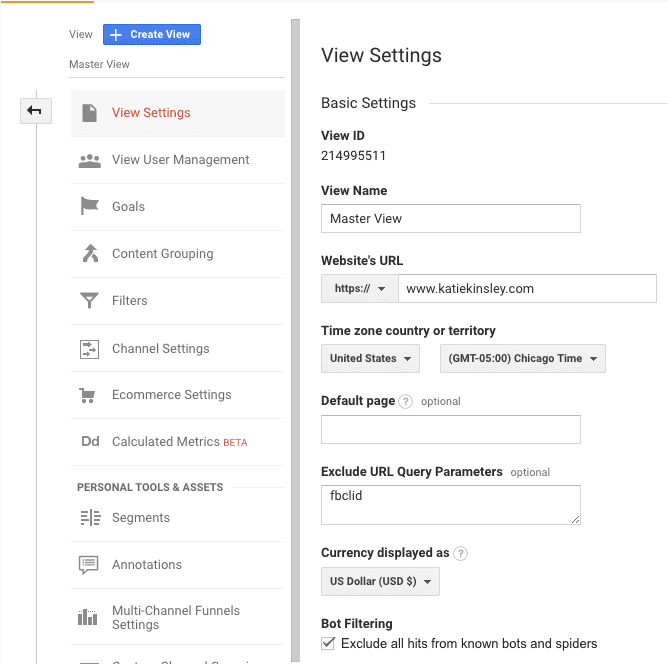
🔹 Ensure you have access to your website’s backend (WordPress, Squarespace, Shopify, etc.).
🛠️ How to Claim Your Website on Pinterest
Step 1: Open Your Pinterest Settings
1️⃣ Log into your Pinterest Business Account
2️⃣ Click your profile picture (top-right corner)
3️⃣ Select “Settings” from the drop-down menu
4️⃣ On the left panel, click “Claim”
It should look like this:
Step 2: Choose Your Verification Method
Pinterest offers three ways to claim your website. Choose the option that works best for your platform:
1️⃣ Add an HTML tag – Insert a verification meta tag into your website’s <head> section.
2️⃣ Upload an HTML file – Download and upload a file to your website’s root directory.
3️⃣ Add a TXT record to your domain host – Use your DNS settings for verification.
👉 Best for WordPress users? Use Option 1 (HTML Tag)—it’s the fastest!
Step 3: Claim Your Website (By Verification Method)
Option 1: Add an HTML Tag (Best for WordPress Users)
🔹 Copy the HTML tag provided by Pinterest.
🔹 Paste it inside the <head> section of your website.
How to do this in WordPress:
- Install the Insert Headers and Footers plugin.
- Go to Settings → Insert Headers and Footers.
- Paste the Pinterest tag inside the “Scripts in Header” box.
- Click Save.
✅ If you use Google Tag Manager, you can also paste the HTML tag inside a new container.
🔹 For Squarespace users: Follow these instructions to add an HTML tag.
Option 2: Upload an HTML File (For Advanced Users)
🔹 Download the Pinterest verification file from your settings.
🔹 Upload the file to your website’s root directory (via FTP or cPanel).
🔹 Return to Pinterest and click Submit.
✅ Best for: Tech-savvy users with direct access to website files.
Option 3: Add a TXT Record to Your Domain Host (Best for Shopify & Wix Users)
🔹 Copy the TXT record provided by Pinterest.
🔹 Go to your domain registrar (GoDaddy, Namecheap, Bluehost, etc.).
🔹 Open DNS settings and add a new TXT record.
🔹 Paste the Pinterest TXT code and save it.
✅ Best for: Shopify, Wix, and custom domain setups.
Step 4: Submit & Verify Your Website
1️⃣ After completing your chosen verification method, click “Submit” in Pinterest.
2️⃣ Pinterest will check for the verification code.
3️⃣ Within 24 hours, you’ll receive an email confirming that your website is claimed.
4️⃣ A green checkmark ✅ will appear next to your website in Pinterest settings.
🎯 How to Check If Your Website is Successfully Claimed
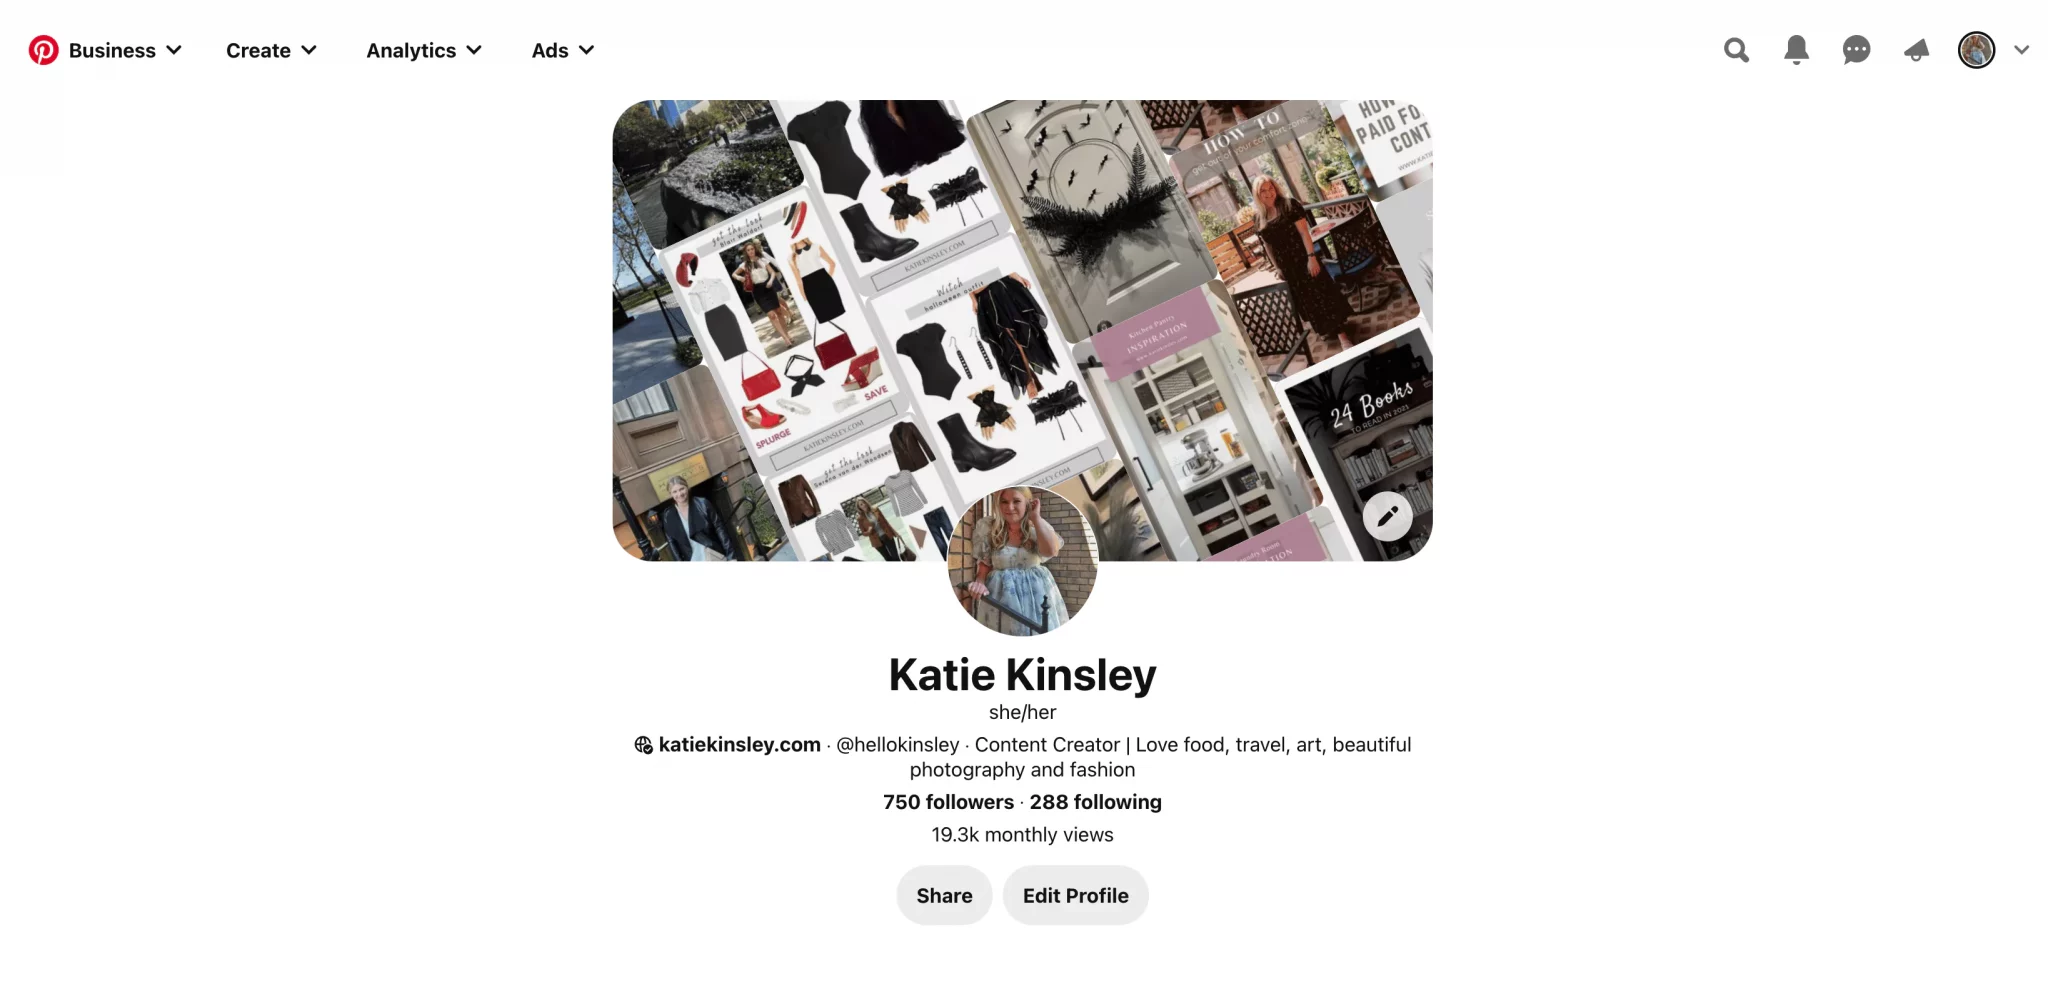
✔️ Visit your Pinterest profile. Your website URL should be clickable at the top.
✔️ Go to a blog post and pin an image. It should say “Saved from [Your Website]” instead of “Saved from [pinterest.com]”.
✔️ Check Pinterest Analytics – Your dashboard should now show “Claimed Account Data.”
📝 Final Thoughts: Why Claiming Your Website on Pinterest Matters
Claiming your website is essential if you want to:
✅ Get more visibility and engagement on Pinterest.
✅ Ensure that your content is properly credited.
✅ Unlock Pinterest Analytics & Rich Pins.
🚀 Now that your website is claimed, it’s time to maximize your Pinterest traffic!
📌 Next Steps:
✔️ Optimize your Pinterest profile with SEO keywords.
✔️ Create click-worthy Pinterest Pins to drive traffic.
✔️ Set up Pinterest Rich Pins for enhanced content.
Have any questions? Drop them in the comments below!. Follow me on Pinterest for more digital marketing tips.
Katie
Read Next: How to Use Notion to Track Your Blogging
More Pinterest Resources
- How to Get More Traffic from Pinterest (2025 Guide)
- How to Use Pinterest for Beginners: A Step-by-Step Guide
- How to Use Pinterest for Inspiration: A Guide to Finding Fresh Ideas
- How to Hide Pinterest Pin Images in Your Blog Posts
- How to Use Pinterest for Etsy: A Seller’s Guide to More Traffic & Sales